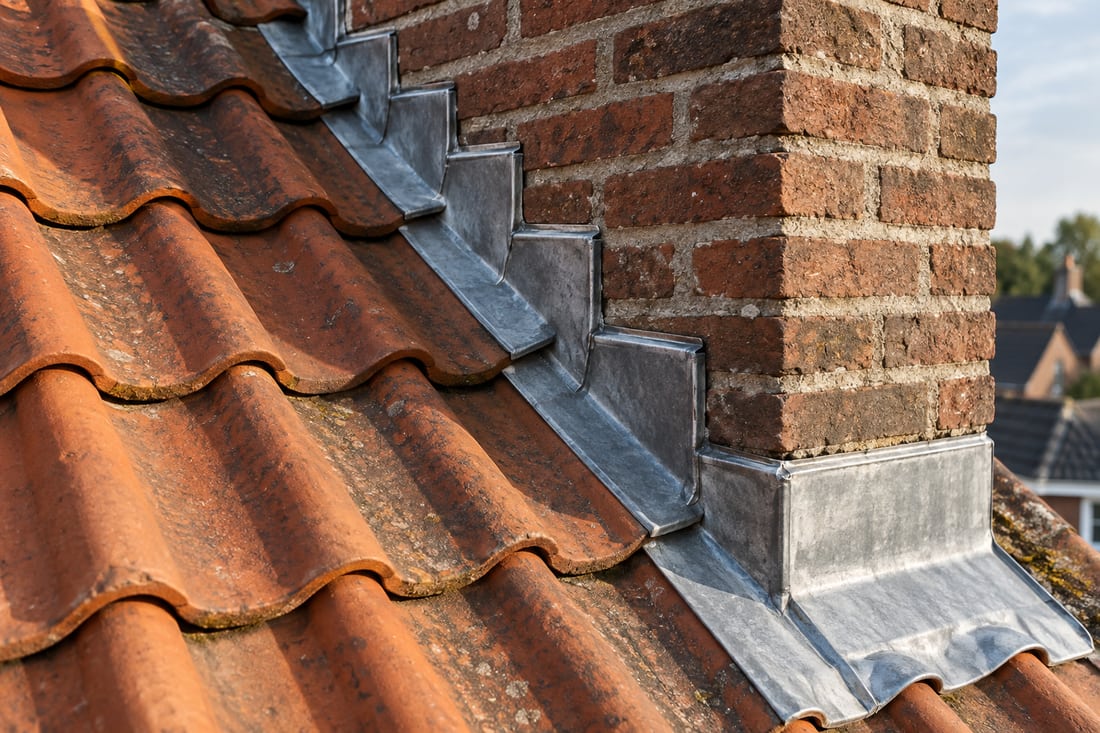
Record where moisture appears, when it changes and which roof components are above it. A useful report combines overview photographs, conditions and access information; a ceiling stain does not establish the rainwater entry point.
Which photographs explain the situation?
Start with an overview of the room, then photograph the affected surface. This preserves the relationship between the stain, external walls, a chimney and any roof window. Add the date and weather conditions to your notes. Photographs taken from the same position make changes easier to compare than unrelated close-ups.
Move vulnerable belongings where this is safe, but do not alter the roof to improve a photograph. Images from street level or an existing safe indoor position are enough for an initial report. Climbing onto a wet roof is not part of preparing an enquiry.
How should you record changes over time?
Describe whether the mark grows after heavy rain, also appears during light showers or becomes visible during cold, dry periods. Include wind direction if known, without treating it as a diagnosis. A roof penetration may be some distance from the internal stain because water can travel along components. Mention heating patterns and any recent painting or alterations.
These observations help distinguish possible rain entry from an indoor moisture problem. Measurements may subsequently be needed. A dry-looking photograph cannot establish that the concealed roof layers are dry, and yesterday’s weather alone may not explain today’s visible mark.
Which building details help the assessment?
Explain whether the affected area is a flat rear roof, a tiled slope or a transition between them. List known repairs and recent additions such as a rooflight, ventilation pipe or solar panels. Existing invoices may identify materials without anyone opening the construction.
For apartments, name the contact for the owners’ association and mention similar reports elsewhere in the building. Keep observations from individual homes separate: several stains do not automatically share one cause. A nominated contact can consolidate the evidence, allowing the assessment to begin with a clear timeline rather than conflicting accounts of the same incident.
How can you prepare a useful follow-up visit?
Provide the postcode, floor level and access arrangements for the attic or communal staircase. Explain restrictions, for example where a rear roof can only be reached through an apartment. Ask what can be inspected during a visit and what needs clearing beforehand. A repair proposal should distinguish an established defect, a suspected cause and any remaining uncertainty.
Retain your photographs after the work so a recurring symptom can be compared with the original report. Avoid sending identity documents or unnecessary personal information. Immediate danger requires appropriate emergency assistance; an online enquiry does not confirm an emergency attendance appointment.
Frequently asked questions
Should I open the roof covering?
No. Prepare observations and photographs from safe positions. Opening the construction can cause damage and should only form part of an agreed professional assessment.
Does a damp patch prove the roof leaks?
Not by itself. Condensation or another water source may contribute. The pattern, location and examination of the construction determine which explanation is plausible.
Which photograph should I send first?
An overview showing the affected room and the position of the mark. Follow it with a detail photograph and describe what sits above that location.